Well I am nearing the end of my third week trying out the Weight Watchers program. I’ll cover it in another post but in short its going quite well. But I am now obsessed with using as few points as possible and I find that the biggest point sink (apart from affordable mince oddly enough) is snacks. Particularly “proper” snacks i.e. non healthy ones. The other day I was consumed by the bizarre urge for a rice krispie bun which lead me on a hunt for healthy rice krispie buns which ultimately led to the creation/modification of the recipes below. Oh yeah, I suppose I should mention, there are no actual rice krispie’s involved here. Sorry for breaking your heart.
I’m going to briefly outline my search, in short my initial search for healthy or low point rice krispie buns soon ended in failure. This should have been obvious as the best and most essential element of a good rice krispie bun is chocolate and no matter the type of chocolate it’s not kind on points or calories (and you need a decent amount for rice krispie buns). Also rice krispies themselves aren’t so great on the old health and weight watchers points front (though they do seem to do a gluten-free version now). However in my search I came across mention of using puffed wheat as a healthy replacement for rice krispies, which would be great as its free on the Weight Watchers Filling & Healthy plan. Unfortunately it’s also apparently unavailable in the metropolis of Dundalk. Sainsburys do it but going to Newry for it seemed a bit much. So I ended up moving onto the similar, and equally points free, puffed rice. Holland and Barret sell Kallo Organic Natural Puffed Rice Cereal, unfortunately it’s around €4.50 for ~230g. Which is expensive. Anyhow, this puffed rice will be taking the place of the eponymous rice krispies.
As well as offering a healthy replacement puffed wheat also led me to exploring a new range of recipes, healthy puffed wheat bars and squares seemed to be pretty popular (and looking at the ingredients pretty fucking fast and loose with the term healthy). This reminded me of rice krispie bars, which admittedly I wasnt a fan off but when you’re thirsty in the desert you’ll drink piss out of a shoe (that metaphor doesn’t really work but it’s too late I’ve typed it now and as a blog writing shark I can’t go backwards). Long story short, urge for rice krispie buns -> puffed wheat -> puffed wheat bars -> rice krispie bars -> healthy rice krispie bars. This trail lead me to this recipe here “5 Ingredient Rice Crispy Treats” (I’d definitely recommend checking that site out, loads of delicious looking healthy and vegan recipes for sweets and desserts). Helpfully there’s a low-calorie addendum to the site which offers lower calorie or healthier substitution options. The first one being to use puffed cereal in place of rice krispies (which is why I bought that five quid bag of puffed rice). The second substitution option led me on another recipe trail that resulted in the second food found in the title.
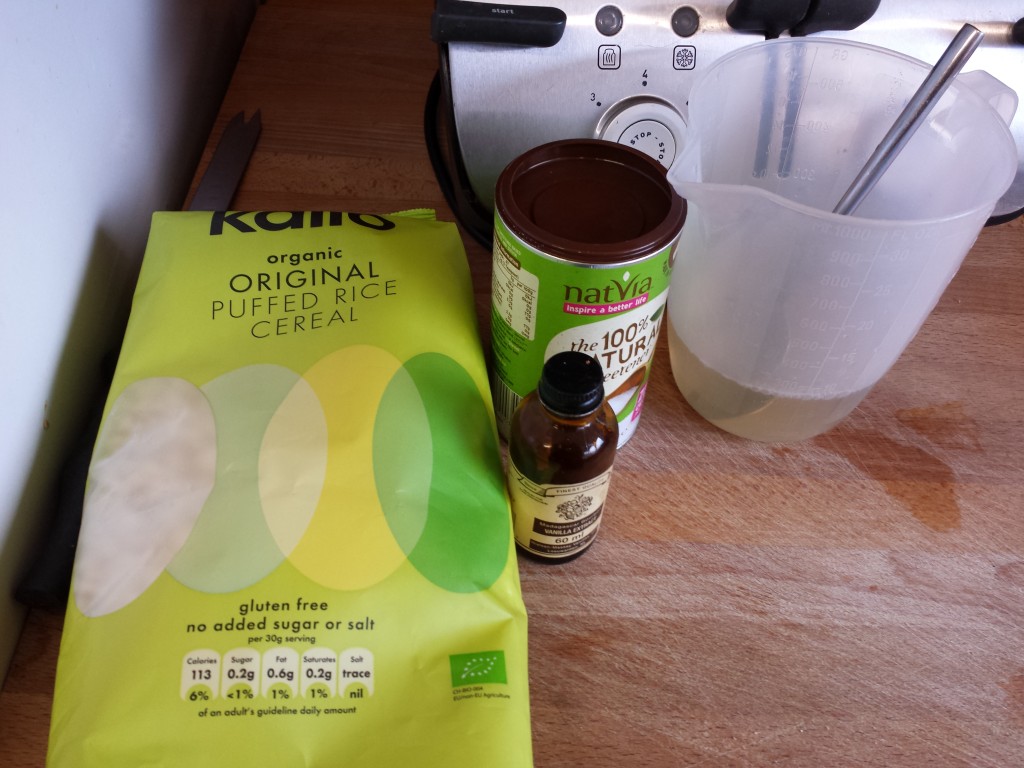
I’d never heard of banana butter before, in the recipe here its suggested you use it in place of peanut butter (which is good as I am not a fan of peanut butter and it costs points). Unfortunately the attached recipe makes a quick and easy banana butter using peanut butter as a base. So for my purposes that was a non-starter. However I had now been made aware of the existence of banana butter and it promised a zero point replacement so the hunt began (as an aside one of my favourite things about the new Weight Watchers Pro Points is that processed and cooked fruit is free). As it turns out banana butter seems to be basically a thick banana jam, most of the recipes I first came across called for a lot of sugar (a lot a lot). During my search I shortly came across something alluringly referred to as “Monkey Butter”. Which is basically banana butter made with bananas, pineapple and coconut. Most of the recipes I came across for it were fairly similar, they all also mentioned canning but as I would be using it almost immediately I was never going to do that. Leftovers would keep in the fridge and go with yoghurt or porridge. The three specific recipes I ended up pulling information from are Monkey Butter Canning Recipe, Monkey Butter – Tropical Spread That’s Irresistible! and Monkey Butter.
Now as you can see there are a few problems with the recipes provided when it comes to being weight watchers points friendly. The big one being the sugar and the second being the coconut. The latter was easy to take care off, while I don’t mind the flavour I’m also not crazy about it, out went the coconut. The sugar on the other hand presented some issues, while I recently picked up some stevia to try it out (and have had good success in the past using splenda as a sugar substitute for cooking, when it comes to making jam the sugar serves as a geling agent. This lead to some late night/early morning reading about the nature of jam and how it is made. In short these days most home-made jam makes use of pre-packaged pectin to help it gel (I also discovered a few recipes for no sugar freezer jam, but they need a special pectin). Some fruits are naturally high in pectin so my plan was to cut way back on the sugar (I don’t like things overly sweet anyhow), replace it with a stevia/splenda combo and get my gel on by adding in some high pectin fruit. In this case some cooking apples (though bananas have a high enough amount of pectin as it is). While digging the tinned pineapple out of the larder I came across a bag of milled chia seeds I’d bought ages ago. I decided to throw some in as it makes a good thickener as well. It worked really well. Unfortunately as my aunt pointed out later they probably cost points and after working it out they do, but only 1 point/10g or so.
Zero point “Monkey Butter”
Recipe:
5 medium ripe bananas (~5oz per banana)
1 tin pineapple, drained ~ 276g (if you’re not worried about the weight watchers points don’t drain them, use the juice)
1 cooking apple (alternately you could use two medium granny smiths or any other tart apples, crab apples if you have them have loads of pectin)
~150 ml water (used this to replace the juice from above)
3 tablespoons stevia
2 tablespoons splenda (this is much less than the equivalent sugar but you’re using it to sweeten not to help gel and it turns out plenty sweet with just this much)
Optional: 1 teaspoon milled chia seeds (you can use this to help the jam thicken, it does add one point to the point cost for the entire batch, it isn’t really needed you can just boil for a little longer)
Cooking instructions:
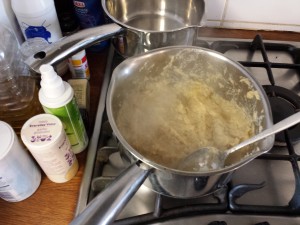 1. Chop the fruit and combine with the other ingredients in a saucepan
2. Boil on high heat until you get a “rolling”/bubbling boil
3. Move to low heat and simmer until it reaches your chosen consistency. You’ll need to keep an eye on it and keep stirring because it will burn. You don’t need to stir it all the time but you can’t leave it unattended for too long. Theres an element of personal choice in this step and it involves on how you prefer the finished consistency of the jam. If you want something smooth then use a stick blender to puree the mixture down (this also cuts down on the cooking time). If you prefer something more lumpy, oops, I mean, more “robust”, then you can let it break down naturally. Personally I opted for the middle road and used a potato masher to break it down a bit but not to the point where it was smooth. In total I think after the initial rolling boil stage I simmered it for around half an hour.
4. Spoon into jars/tubs/your mouth (might want to let it cool before doing the last one)
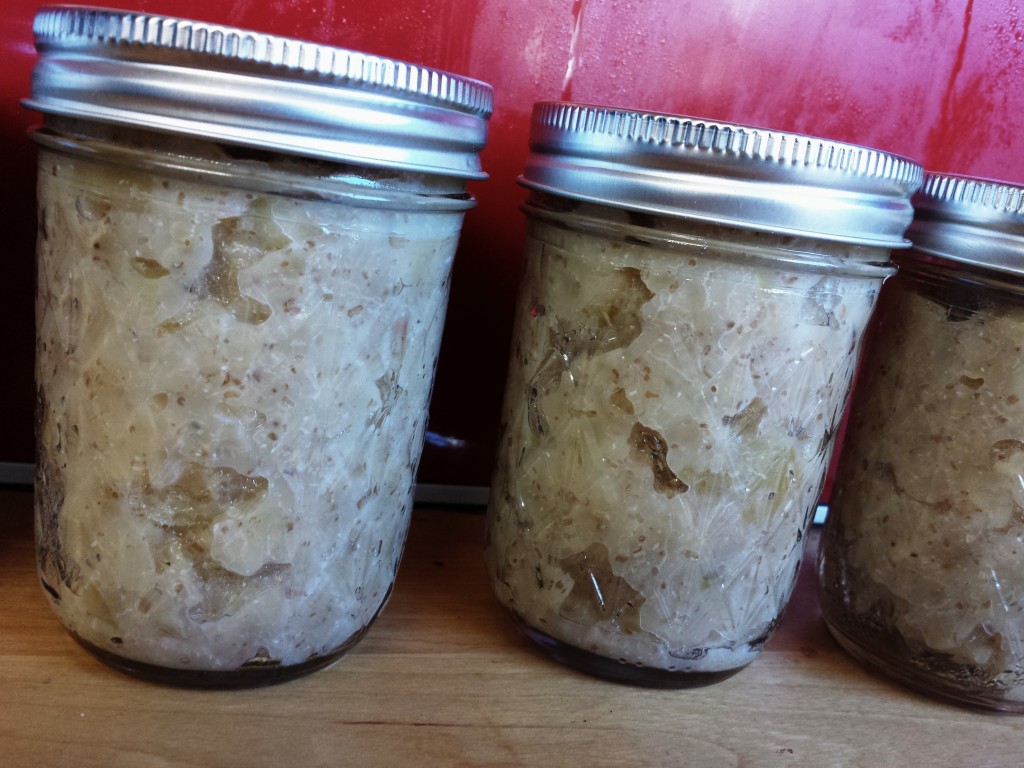
I was worried about how this would turn out. I have to say, I was really pleased with the result, it turned out delicious (a fact corroborated by the many hungry mouths sitting around the kitchen all too eager to sample it and report their findings). The recipe above was enough to fill four 1/4 pint/2oz canning jars. I didn’t bother with canning them properly but it should keep for a few weeks in the fridge. Though I doubt it will be around that long as I foresee it getting bunged into any porridge or bit of yoghurt going (and I saw one comment recommending trying it on roast chicken, which I may do). It was a little more work than I thought it would be (largely because you need to keep an eye on it) but I felt that it was ultimately worth it.
If only I could say the same about my ersatz rice krispie bars. But that would be a lie. Things certainly peaked with the banana butter. But I’m getting ahead of myself. To return to the opening paragraphs, I had a recipe for healthy rice krispie bars and I was making substitutions. At this point puffed rice had taken the place of rice krispies and my monkey butter was standing in for peanut butter. The final replacement was initially going to be gelatin for agave. While agave is relatively low in points (and I want to give it a go) none is better than low so gelatin was the answer. Unfortunately the only gelatin I had needed to be mixed up hot. Which I did. The plan was to wait for it to get syrupy and then crack on. But I ended up having to go out and by the time I came back my gelatin was as firm as (insert your own toned body part of choice here). Not a fortuitous start.
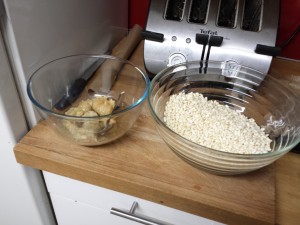
As always with american recipes I was left somewhat floundering when it came to converting cups to our glorious metric measurements. But a bit of googling later and it seems that 1 cup of rice crispies is around 60 grams. So I got out my mixing bowl and started measuring in the puffed rice. But once I hit 120 grams the bowl was over half full and I was thinking that it looked like quite a lot. So I stopped there. I used a full jar of the monkey butter (which was about 150g if I remember correctly). I had to “thaw” the gelatin in the microwave, but I got distracted by someone coming to the door and it got a little too runny, so I had to put it back in the fridge…I know, I know. Eventually I had all my ingredients assembled in their correct states and I combined them.
I thought at first I wouldn’t have enough of the “glue” mixture but after a good bit of stirring through it seemed everything was coated and I transferred them to a lined baking tray (12×6 as I didn’t have an 8×8 one). I put another piece of baking parchment on top and pressed down hard as the recipe instructed (I think if I do it again I will be much more thorough here, though I did give it a fair pressing). After that I whisked it off to the freezer for a while (three hours as it turned out).
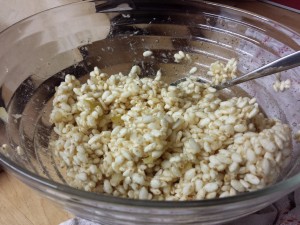
I took it out of the freezer a short while ago and sampled it. It sure was cold. And disappointing. The puffed rice had become soggy (an issue I just realised is pointed out in the comments on the recipe addendum page) so it lacked the crispness I wanted. Well not just wanted, I think its fair to say that the crispness is integral to any rice krispie style snack, ersatz or otherwise. The mixture also “cracked” in a few places in the freezer, whether this was because of my gelatin mis-adventures or because I probably should have pressed down harder (and possibly left the top sheet of parchment in place while freezing) I dont know. So after cutting them into bar shapes about half the bars are a little worse for wear or more the idea of a bar rather than an actual bar. They’re in the fridge at the moment so I’ll see how they are after a second sampling in the morning. But as it stands while their flavour is actually pretty decent the consistency is quite far from it. And at the risk of repeating myself, the consistency is really what they’re all about.
I have some thoughts on how to improve it and have begun some rabid googling to shore up said ideas. But for the moment I wont bother sharing my modified recipe as I don’t think the finished product would be palatable to anyone. Still it wasnt a complete disaster, and while initially an offshoot the jam stands alone, so maybe a 60% success rate for todays culinary experiments?